The good news is you don’t need to have an expensive camera to take great photos!
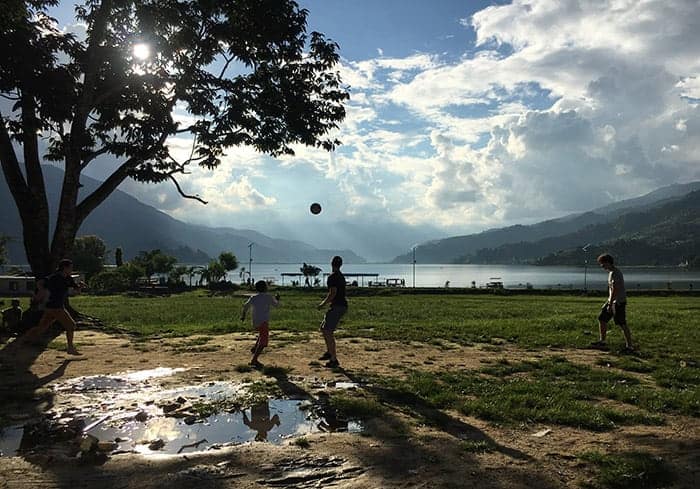
When I visited Nepal and only had my iPhone (6) to take all my pictures, including video and my scenic shots flying over Mt Everest. I was really pleased with them because I basically took my time and got my eye in.
That’s the key: to take a great photo you need to get your eye in!
I now have an iPhone 15 Pro (and no, I’m not sponsored. I’m paying it off!) I love the zoom features and the portrait mode. I’ll show you some photos below.

Haven't got time to finish this post now?
A friend once told me I must have a good camera because my photos were so good. I was a bit offended tbh. She meant well by the comment, but the reality is you wouldn’t tell your dinner host they must have a good oven because the meal was great, would you?
I have always loved photography. My great-grandfather was a professional photographer in New Zealand in the 1900s-1940s and our family has some beautiful sepia toned photos of my grandmother and her siblings as little ones and lots of beautiful images of Hamilton and Piha, places he loved.
He would try clever tricks in his dark room with holes in the film to create a sun and had an eye for beautiful composition. His work was exhibited in NZ and London.
I took a really great photography tour in Dublin with a professional photographer and learned lots of great tips from him too.
Here are 11 simple tricks to help you take beautiful photos (smartphone or not)
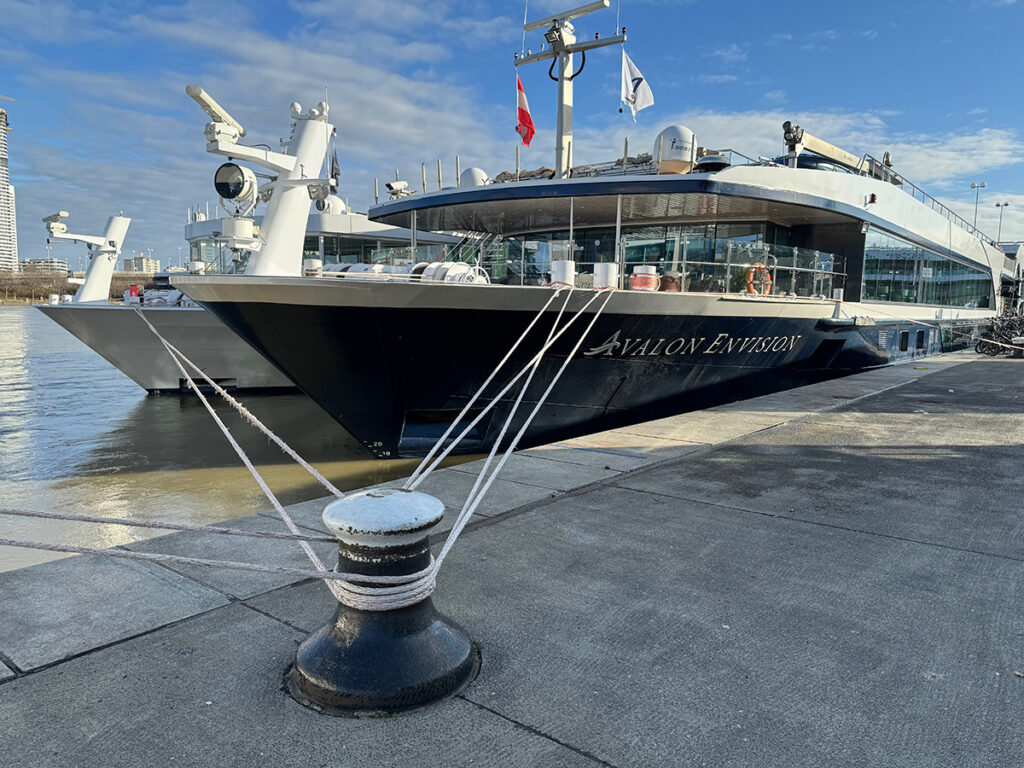
1. Use leading lines
Draw the eye into the object by using lines. Look for them along fences, pavements, roads and line up your shot.
Next time you go on a cruise, head to the front to get the ropes in your shot.

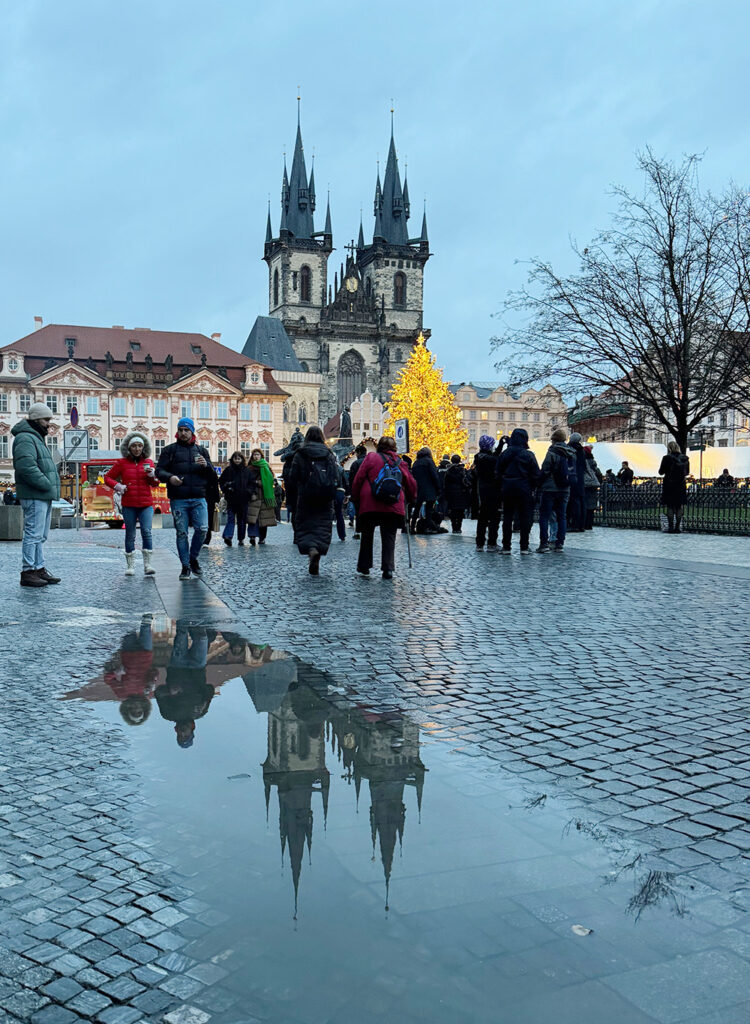
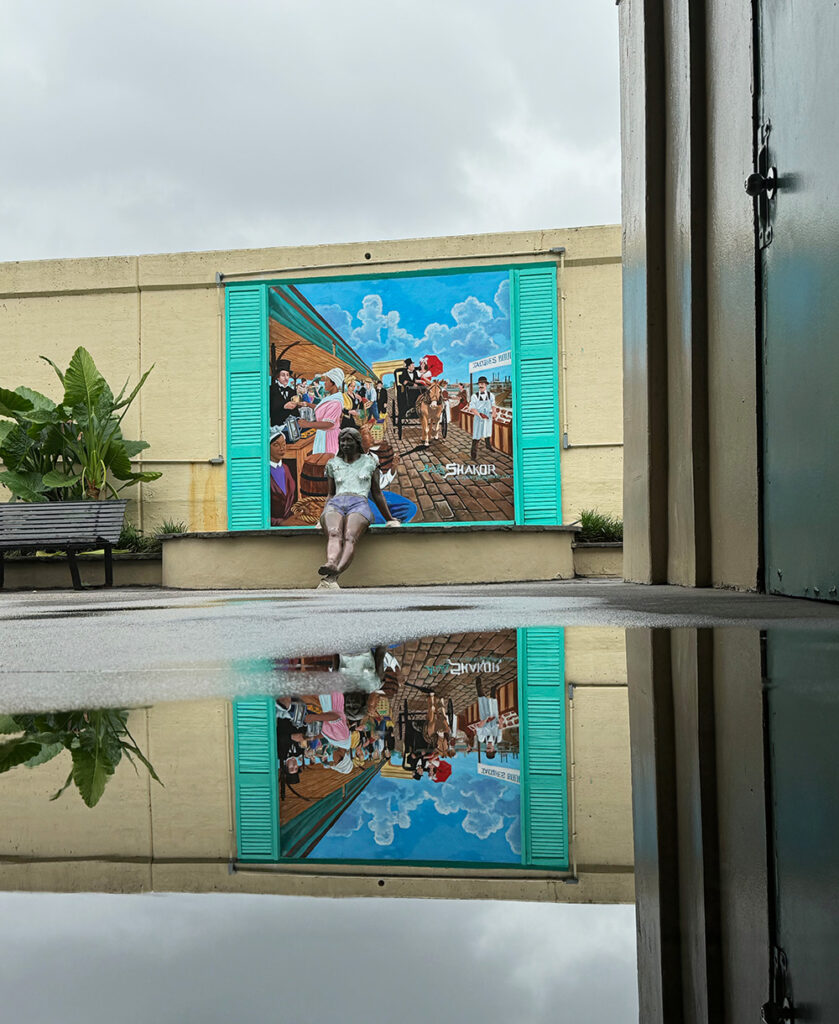
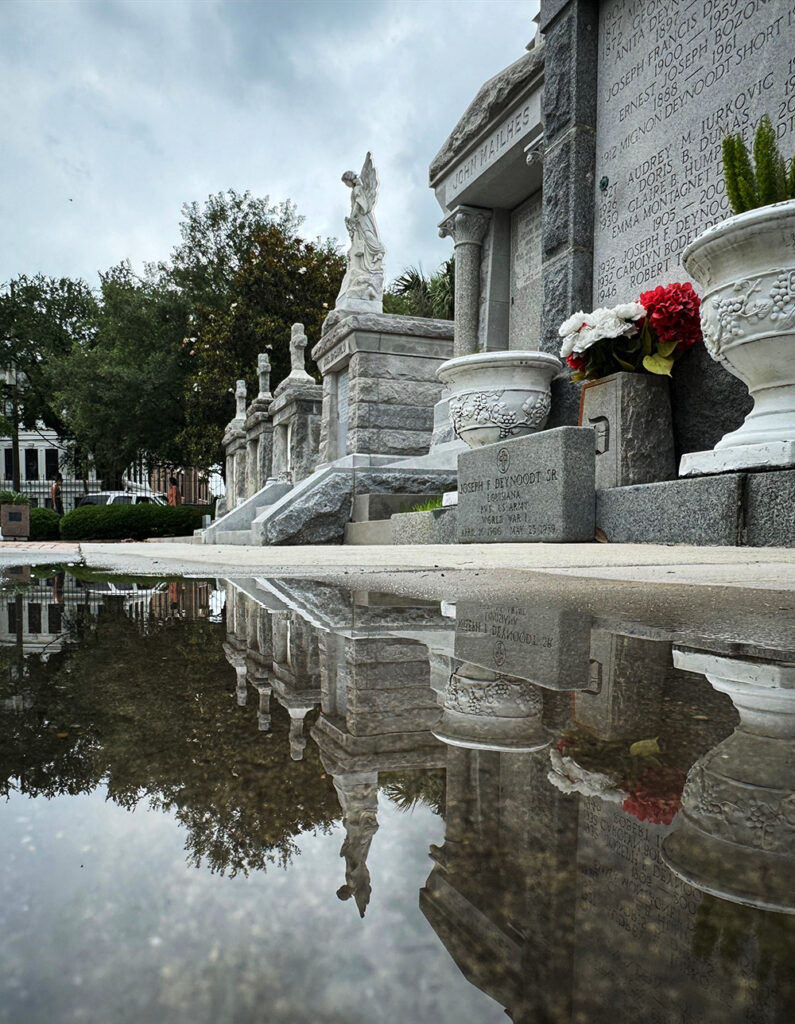
2. Look for reflections
I love playing with reflections. This is my new favourite way to take a photo on a rainy day. Look for a puddle, crouch down, turn your camera/phone upside down so the lens is as close to the ground as possible, and play with the reflections.
You may not even see the reflections at first glance and most people will be taking their photo at eye height, but if you peer into the puddle, you’ll be amazed at what you see.
In the iPhone Photography School (link below), they even use a water bottle on a sunny day to create a puddle and take a reflection.
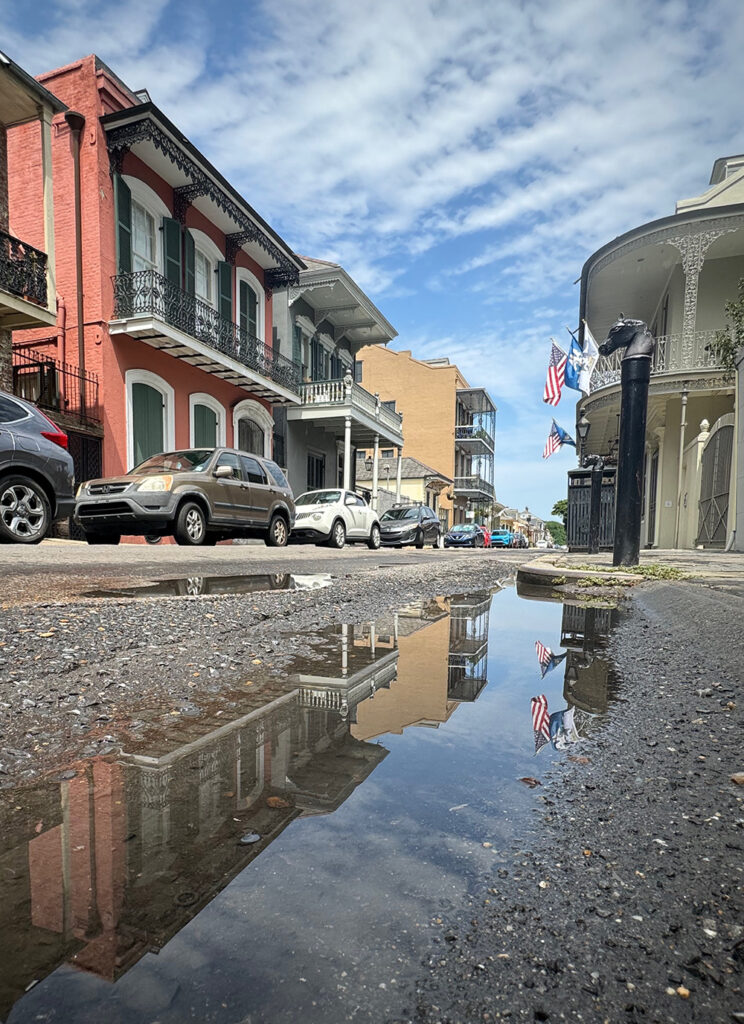
We’d just had a heavy downpour in New Orleans, so I was eagerly looking for puddles that had great reflections in them as we walked around the French Quarter. You might like to read my post on the 20 best things to do in New Orleans, if you’re planning a visit.
3. Declutter
Don’t try and capture too many things in your photo. Simple is best. This photo below is taken in a window looking across the road in Martinborough, New Zealand.

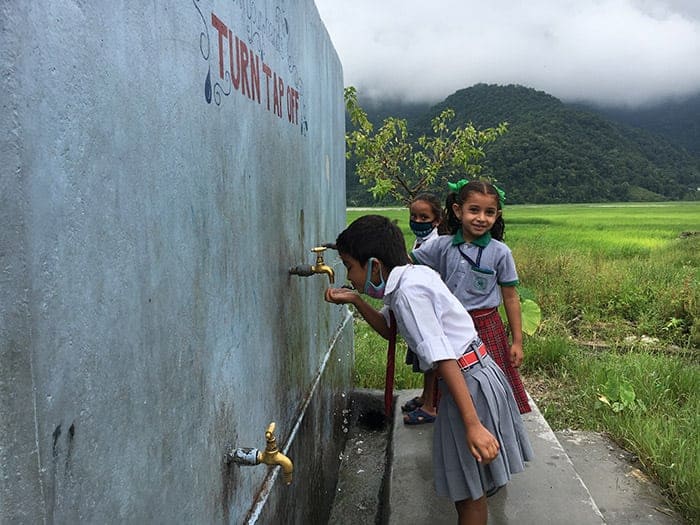
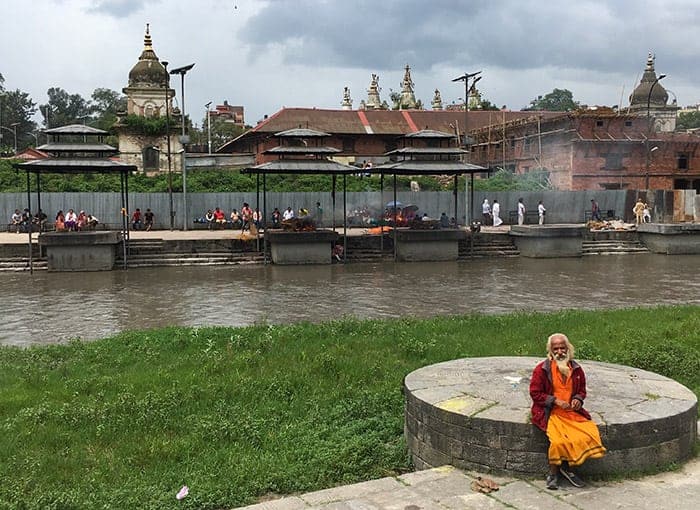
The photo below I took when I was volunteering in Nepal. A previous group of volunteers had built this fresh water cistern at a school where I built a bamboo fence! By standing close to the cistern I was able to declutter this pic and make it about the girls.
4. Get close up
Kind of the same as above, but zoom in to crop out the excess clutter. I love this close up of the Sydney Opera House because from a distance you never see how intricate the tiles are. I wrote this post on 5 cool things to do in Sydney too!

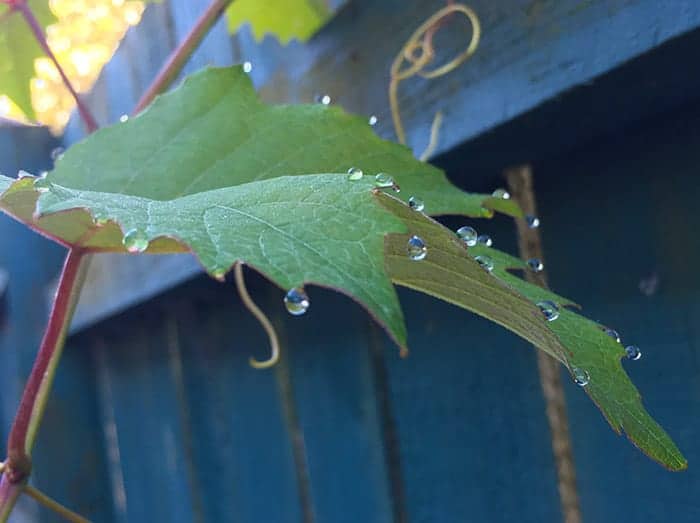
5. Focus
Tap the specific item in the frame that you want the image to focus on (see below for more focus and exposure tips). In the case of the leaf I tapped the dew drops in the centre and that faded out the ones behind.
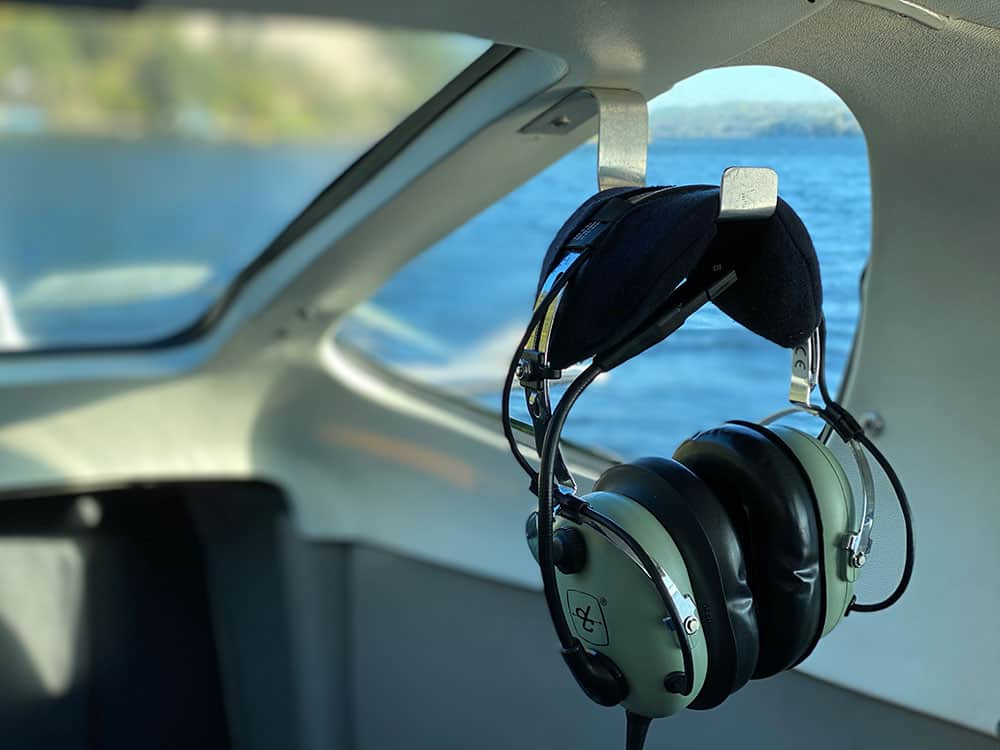
Below I used Portrait mode to focus on the ear muffs on my heli flight during my girls weekend in Rotorua.

6. Take your time
You might get lucky just pointing and shooting, but if you’re taking a scenery photo, for example, take your time to move the camera slowly and studying what you are capturing in the photo.
New Zealand is called Aotearoa in Maori. It means Land of the Long White Cloud. When our plane came down the North Island the whole island was covered in this white cloud so I waited until the plane wing underlined it.

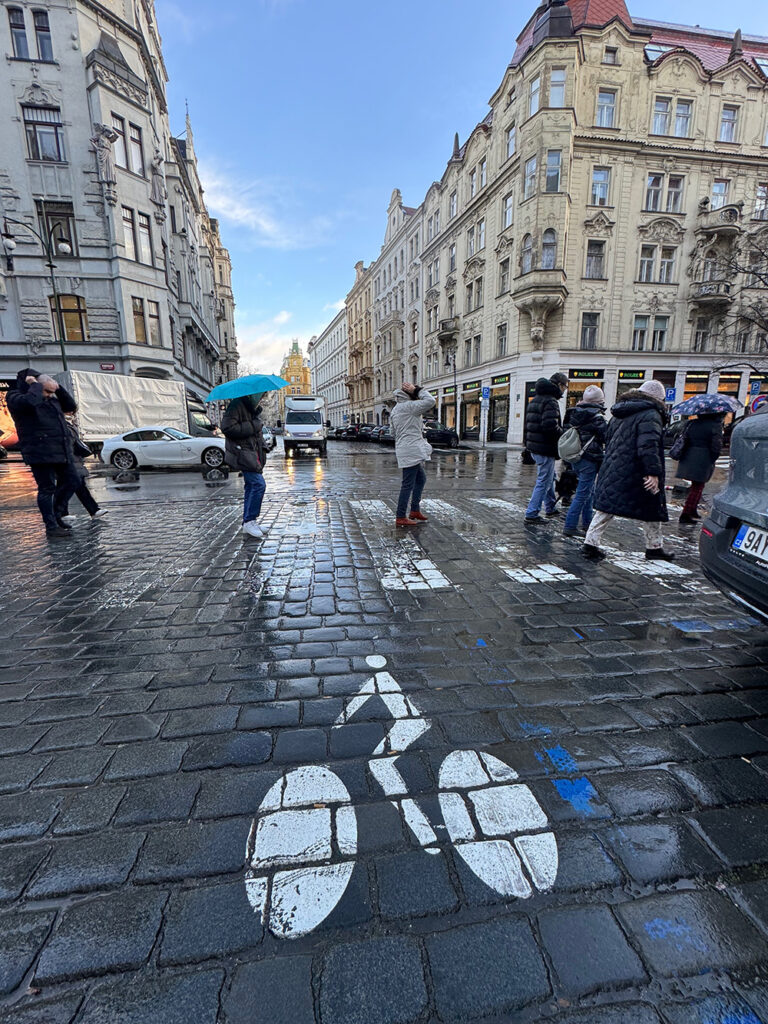
7. Try different angles
Sure you can stand right in front of the flower and click, but try tilting the camera above or below it and see what results you get. Or put the subject to one side. In the pic below, we were in Martinborough for the weekend and the sunset was great but I think the zebra crossing is what makes this pic pop.


8. Make eye contact
Take the time for your subject, whether it be human or animal, to look at you. Do whatever it takes to get their eyes looking down the lens.
I was on an outback tour in Australia once and we found a koala asleep up a gum tree. We all stood under it and took photos, which were very boring. There’s no shouting at a eucalyptus-drunk koala to wake it up, but when our guide told us the trick was to break a twig, it worked! Apparently the thing that wakes them is the threat they might fall.
This lady below was a vendor in Hoi An, Vietnam with the most beautiful smile!

How much better would this photo have been if the baby was looking at me too.

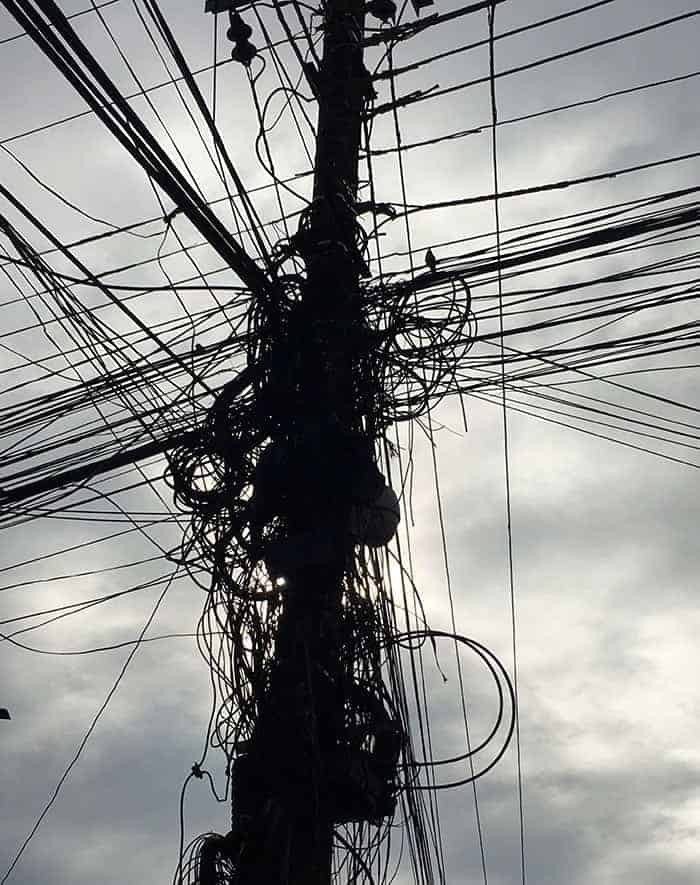
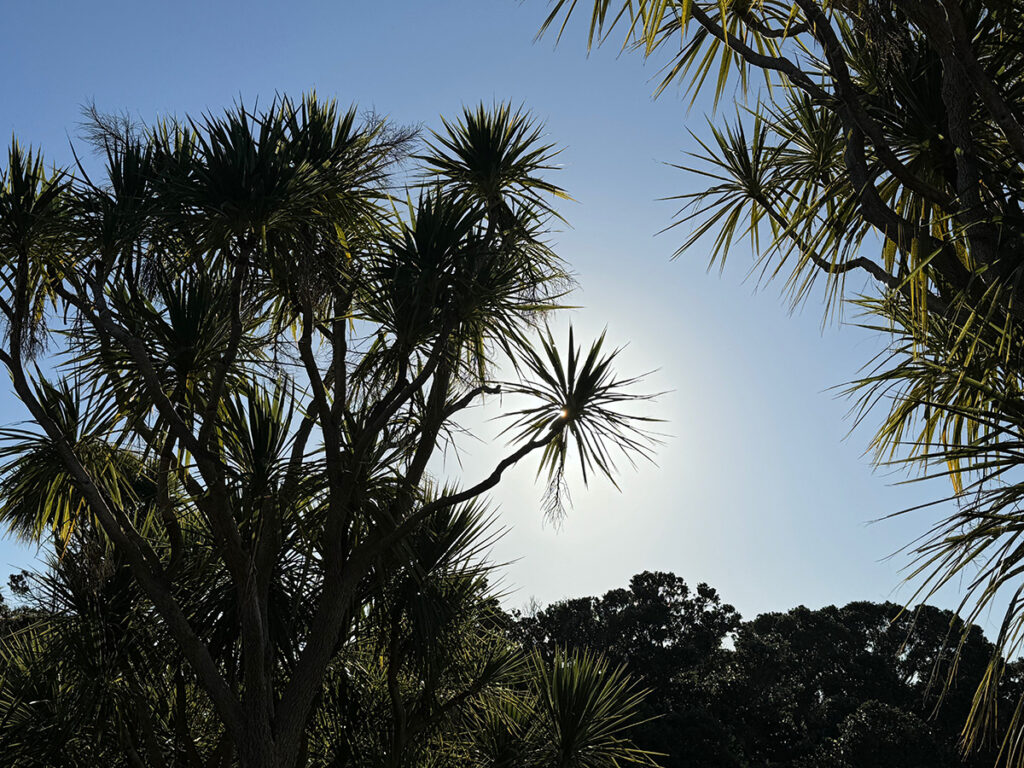
9. Take photos into the sun
Yes you can take great photos looking into the sun! Of course you can take a lot of bad ones too, but if you put the sun behind an object like a church spire or a cabbage tree like I have below, you’ll get a fantastic silhouette.

10. Get up and under
Looking up at objects against a clear sky can also create interesting pics. I loved this wattle tree, and there were lots of busy bees in it too, but alas I couldn’t focus on that as it was moving too fast!

11 Crop, don’t zoom
Unless you have a very good lens, a good tip is to take your photo on the usual focus length, then crop it later with an editing tool. That way you don’t lose any resolution and pixelate, or blur, the image as you would if your camera was on full zoom. You can see what I mean in the two photos I took at Eden Park of an All Blacks try in the far corner.


PLUS: Five iPhone camera tricks you might not know
I learned a few new tricks and shortcuts on this site iPhonePhotographySchool >>
1 Turn on your camera three ways: unlock your phone and hit the icon, swipe up and hit the icon OR THIS TRICK: when your phone is locked, just swipe from right to left and the camera is open. A great tip for averting the panic of needing to take a quick snap but not having the time to click through the other steps.
2 Use your headphones to take the photo. I did not know this! I just found it on a great iPhone tutorial video which you can watch in the link above, but you just open the camera app and let’s say you want to take a discrete photo or you are taking a low light photo at night time, you can put your iPhone down on the table or on a tripod (so you don’t shake it) and line up your shot, then using your volume + or – buttons, with the iPhone headphones plugged in, you take the pic.
3 Burst mode feature. This is great for action shots. Just hold your finger on the shutter button and it will rip off several in a few seconds and you can just delete the ones you don’t like that. Note: it bursts quickly! I held my finger down about 3 seconds and it took 24 frames.
4 Manual focus. You say whaat? Yes you can manually focus in your iPhone. Just tap the part of the screen you want to be in full focus and voila. This is great for a food shot or a close up object when there is a busy background and you want that to be blurred out a little. If you don’t do this the iPhone will choose what to focus on itself and you may end up with a fuzzy flower and a sharp leaf.
5 Increase or decrease the exposure. Yep you can play with exposure on your trusty iPhone and I do this all the time. Just tilting your phone will cause it to change exposure so you might be able to find the brightness you want that way. Otherwise the same technique you use for focus also alters exposure. Just tap the area you want to be bright (or darker) and as well as the focus square you’ll see a little vertical yellow line with a sunshine. Just move your finger up or down and what the image get brighter or darker.
If you want the focus AND exposure to jump back to the default setting after you’ve take one photo (cos you spent a bit of time getting it just so!), just hold your finger on the screen for a couple of seconds and AE/AF Lock will appear in a yellow block meaning you are good to take a whole lot of images with that setting.
Now it’s your turn. Get out there and have fun 😀
> You might also like my post comparing the best camera drones at 3 price points: under $200, under $500, under $1000.
> You might like to read my post on How to Write a Great Travel Story. It covers the basic structure of an article and works with any writing genre. If you’re ready to turn your hobby blog into a business, you’ll need to read my How to Make Money Blogging tutorials. Because you can indeed make a living!
To Travel Too
Saturday 2nd of November 2024
These are great tips thanks so much!
Samantha
Tuesday 16th of July 2024
Wow; so much amazing information in this blog post. Thanks so much; I have a lot of experimenting to do!
Trish Reid
Friday 13th of July 2018
Looking forward to reading your blog, I enjoyed the iPhone camera hints.
Megan
Friday 13th of July 2018
Thanks Trish!